Drywalls are a crucial element of a home or an office. They may come in different names such as gypsum board, wall board, sheetrock, and many others, but they all serve the same purpose and that is to line up walls and ceilings. Now, hanging sheetrock on straight walls is a relatively straightforward process for most DIY enthusiasts and professionals. However, when it comes to installing sheetrock on curved or arched surfaces, the task becomes more complex and requires a bit of finesse. If you are remodeling your home or office, and plan to put an arched or curved surface in it, then you better know how to hang sheetrock properly.
Are you considering the DIY approach and do not have a clue how to hang sheetrock on arched or curved surfaces? Well, you are in luck! In this post, we will explore the techniques and tools needed to achieve a smooth and professional result when hanging sheetrock on curved surfaces. We will also provide you a step-by-step guide on how to hang sheetrock on arched or curved surfaces. By the end of this post, you will surely be able to attach sheetrock on arched and curved surfaces like a pro!
A Step-by-Step Guide on How to Hang Sheetrock on Arched or Curved Surfaces
Hanging sheetrock on arched and curved surfaces is not really that difficult to do. It can be tricky, but with caution and precision, you can definitely do it yourself. So, below are the step-by-step instructions that you can follow to hang sheetrock on arched or curved surfaces properly:
7 Steps to Hang Sheetrock on Arched or Curved Surfaces Properly
Step 1: Choose the Right Sheetrock Material
Before you begin your project, it’s important to choose the right sheetrock material for curved installations. Traditional sheetrock may not be flexible enough to bend without breaking. Instead, opt for a specialized product, such as flexible or curved drywall, which is specifically designed for such applications. These products have a higher degree of flexibility and are available in various thicknesses to accommodate different curve radii.
Step 2: Prepare the Curved Surface
After you have chosen the materials you will use, it’s now time to prepare the arched or curved surfaces. To ensure a smooth and professional finish, proper surface preparation is highly important. Start by inspecting the curved surface for any imperfections, such as protruding nails, uneven studs, or other obstructions. Ensure that the studs are evenly spaced and aligned to provide adequate support for the sheetrock.
Step 3: Measure and Cut the Sheetrock
Now that you’re done preparing the curved surface, you will now have to measure it and transfer the dimensions onto the flexible sheetrock. Use a utility knife to score the sheetrock along the measurements, and then carefully snap it along the scored lines. If you need to make a more intricate cut, such as for an arched doorway, create a cardboard template first and trace it onto the sheetrock to ensure a precise fit.
Step 4: Wet the Sheetrock (Optional)
This step right here is optional. But for tighter curves or if you’re using thicker flexible sheetrock, wetting the material can make it more pliable and easier to work with. Using a spray bottle, mist the sheetrock with water on the backside (the side without the paper facing). Allow the sheetrock to absorb the water for a few minutes before installing it.
Step 5: Install the Sheetrock
Begin installing the sheetrock from one end of the curve, align the sheetrock with the studs and secure it using drywall screws. Space the screws approximately 8 to 12 inches apart, ensuring that they penetrate the studs at least 1 inch. As you work your way along the curve, gently bend the sheetrock to conform to the surface. It’s important to apply even pressure to avoid creating creases or cracks in the material.
Step 6: Reinforce Seams and Joints
After the sheetrock is securely attached to the curved surface, reinforce the seams and joints using fiberglass mesh tape or paper tape. Apply joint compound over the tape, feathering the edges to create a seamless transition between the sheetrock panels. Allow the joint compound to dry thoroughly before sanding it smooth.
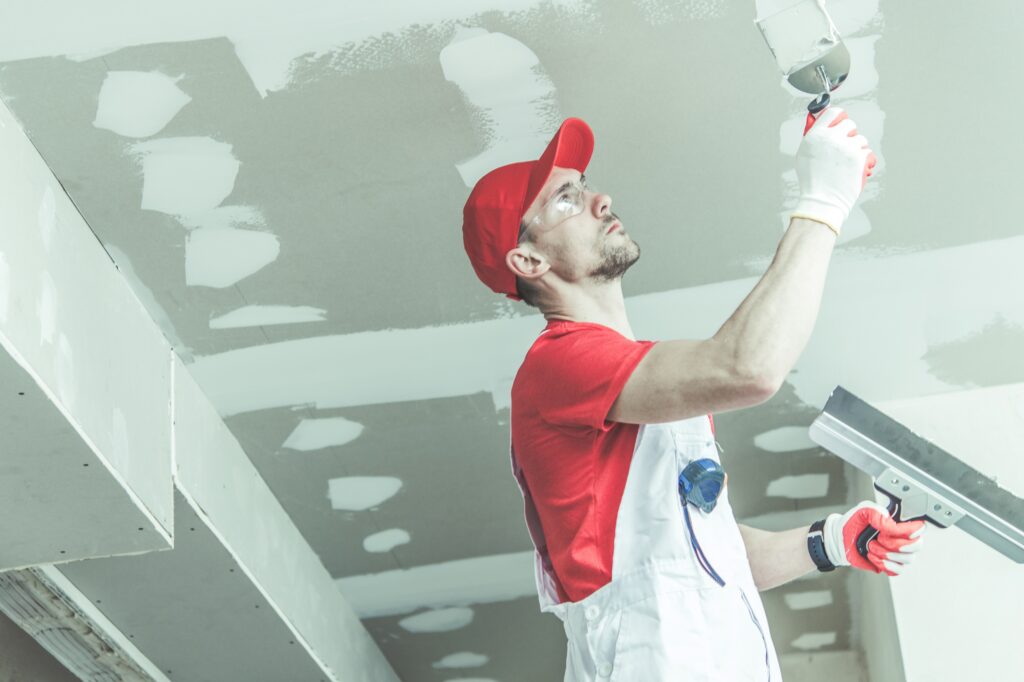
Step 7: Finish and Paint the Sheetrock
For the final step, once the joint compound is dry and sanded, apply a coat of primer to the sheetrock to seal the surface and prepare it for painting. After the primer is dry, apply your chosen paint color using a roller or brush, taking care to achieve even coverage. Allow the paint to dry completely before applying a second coat if necessary. Applying a second coat may not always be necessary, but it gives your painted surface an appealing finish.
Conclusion
Hanging sheetrock on curved or arched surfaces can be a challenging task, but with the right techniques and tools, you can achieve a smooth and professional result. By choosing the appropriate sheetrock material, preparing the surface, and following the steps outlined in this guide, you can confidently tackle even the most complex curved installations. So what do you think about this step-by-step guide on how to hang sheetrock on arched or curved surfaces? Do you think it’s helpful? Let us know if you find this post useful.
Seattle Drywall Contracting
Don’t let the challenge of hanging sheetrock on arched or curved surfaces hold you back from creating the perfect space in your home or office. Our “A Step-by-Step Guide on How to Hang Sheetrock on Arched or Curved Surfaces” is here to help you achieve a professional finish with confidence. But why struggle alone when you can work with the experts at Seattle Drywall Contracting?
At Seattle Drywall Contracting, our team of experienced professionals is ready to assist you in bringing your unique design visions to life. With our top-notch sheetrock installation services and attention to detail, you can trust us to provide the highest quality results for your curved and arched surfaces. We can guarantee you with a properly installed sheetrock on arched and curved surfaces. Give us a call or you can visit our website to get a free quote!